Imagine three Swiss folk arts strutting across the alpine catwalk. First, Bauernmaleri (farmer painting) strokes of genius form bold floral paintings shouting from every corner from inside a farmhouse. Next up is the somewhat reserved Kerbschnitt (chip carving). Every object a cut above the rest, and wowing everyone with its geometric wizardry. Then, bringing the cows home, we’ve got the Scherenschnitt (paper cutting) strolling down the runway. Their silhouettes so precise, they make shadows jealous. Like chip carving, paper cutting is also a cut above the rest.
Meet your new obsessions: farmer painting, chip carving, and paper cutting. Who knew the Alps hid such a crafty trio?
Farmer Painting [Bauernmalerei]
Farmer painting has regional flavors coming from regions like Appenzell, Toggenburg and Bernese Oberland. It’s been around for a long time in Switzerland but it peaked between 1750 – 1850. It was the fad that everyone had to have!
You can put this type of painting into two general motif directions. One was the daily scenes like an Alpine decent with cattle, the other with flowers on furniture as decoration. I did the kind of farmers painting that was on furniture.
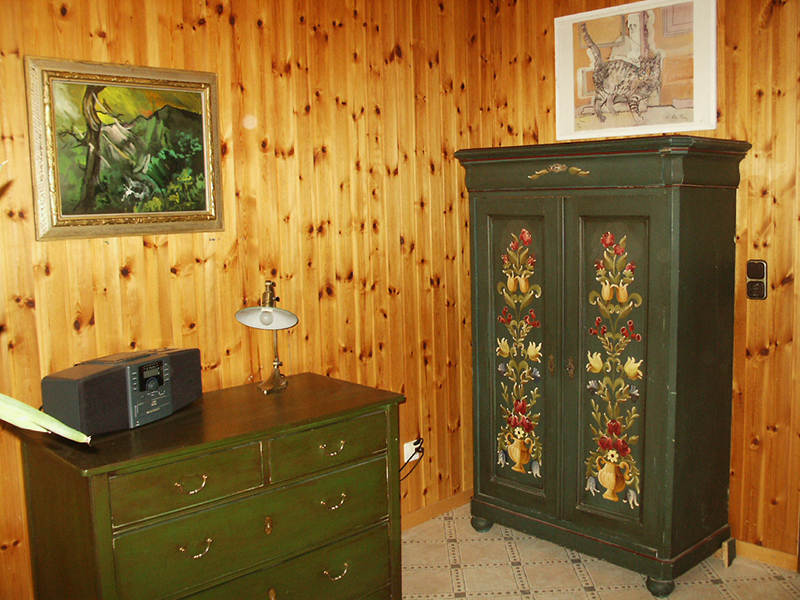
Farmhouses have low ceilings, small, cramped rooms and are dark inside. I’m sure a little color and flowers in these rooms made them more livable. During the peak years there were even itinerant painters that went from door to door offering to decorate new furniture. The door-to-door painters would stay around 1-2 weeks per farm and paint, paint, paint. The cost was between 2-3 Fr. for a chest of drawers and maybe 5–8 Fr. for a cupboard front. They were paid either in cash or barter (food/lodging). Adjusting for inflation (~50x today), that makes between 100-500 CHF. That’s a bargain for durable, good looking, status-boosting decor.
Me and Farmer Painting
When I came to Switzerland I was enchanted by everything Swiss. I had my degree in studio art and was willing to try my hand at anything new and different. So I took a course at the local art supply shop. Okay, I say ‘local’ but it was in Berne, the capitol, still, it had a local feel. I couldn’t speak Swiss German very well, but, hey, painting has its own language. So I gave it a shot. I talk about how that course went in: ‘Taking Courses in Switzerland’.
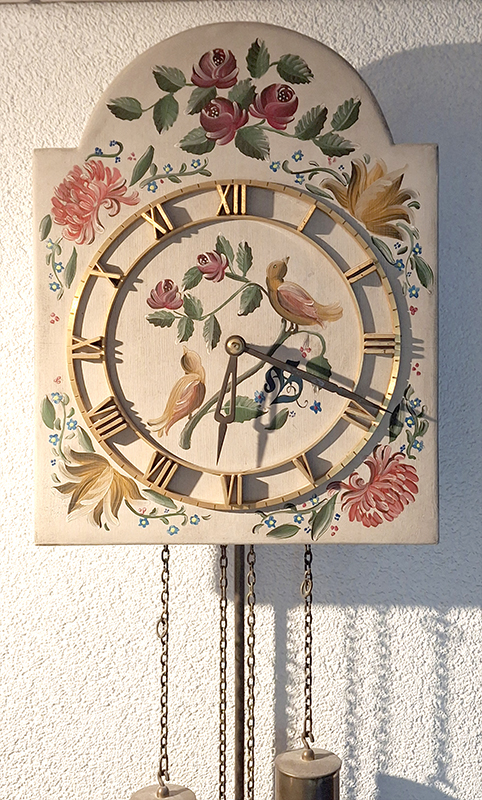
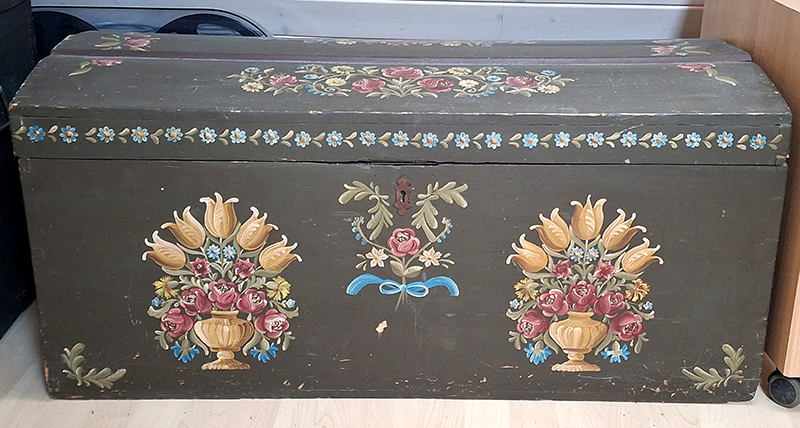
The first thing I painted was my husband’s grandfather’s green military chest. It got lots of rave reviews so I continued. Then my father-in-law gave me two old standalone cupboards to paint. Success again! Then I did a really nice mirrored cupboard and that landed in our bedroom. After that came a clock my father-in-law made. I really had the hang of it by then.
But, a couple of problems were creeping in, too. Firstly, you can actually only have so much farmer painting on furniture in your apartment. Too much and it looks crowded and a little like a warehouse. The other thing was, it was getting boringly uncreative. Uncreative? No! Let me roll up my sleeves and show you what I can create! I bought a wooden sewing box and created a nice farmer painting on the top. It looked pretty cool. I showed it to some friends who smiled politely and said it was pretty, but not farmer painting. So be it.
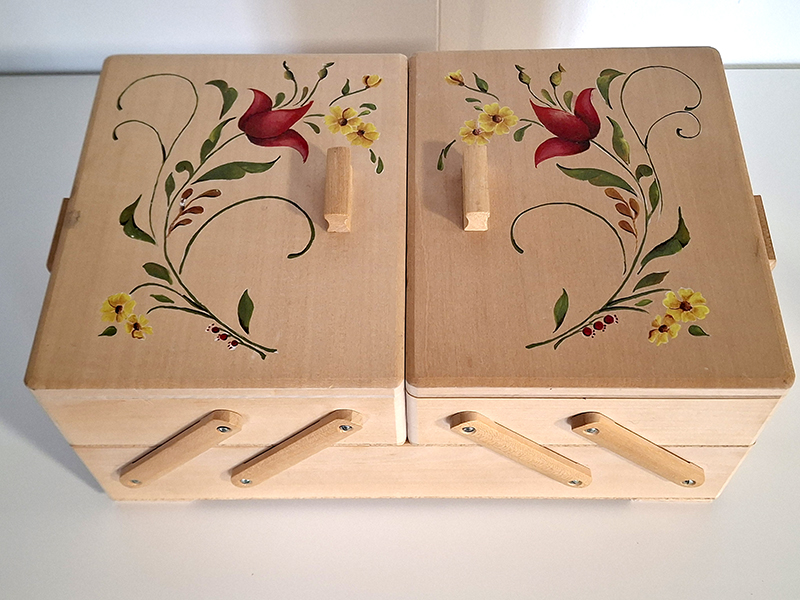
Our house was overflowing with farmer painting. And, it seems there is a narrow line constituting what is and is not considered farmer painting. The bottom line: if I couldn’t occasionally be creative, it was time for me to find something else to do.
Chip Carving [Kerbschnitt]
The next Swiss folk art in my list of three is ‘Kerbschnitt’. The direct translation aligns more to notch, groove, or small incised cut. Chip Carving is what the folk art experts call it in English, so that’s what I’ll call it, too.
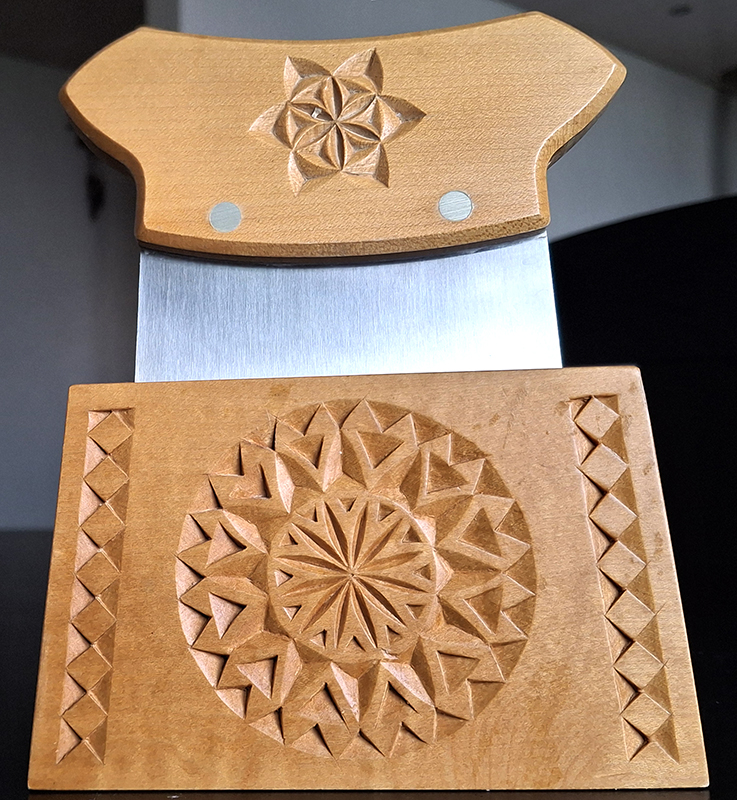
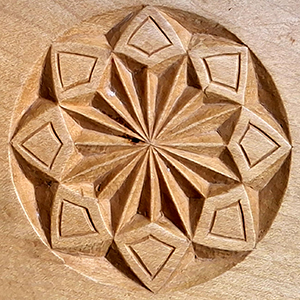
Chip carving is where geometric patterns meet wood and decide to make each other look better. The patterns are laid out on soft wood with a compass, ruler, and divider. Then special knives make single angled cuts along the lines, deep enough to meet beneath the surface. With a little practice, a perfect upside-down pyramid chip pops out to greet you. The slightly three-dimensional result is understated, but it can be stunning.
Chip carving evolved around the 1800s from Brienz woodcarving in the canton of Berne. The carvers in Brienz were focused more on figurative sculptures but the tourist industry was calling. And Switzerland always listens when the tourists call. So they created other objects they could sell, like bowls, cups and spoons. They embellished these things with a proto-Kerbschnitt, quick, pretty and it sold, then and now.
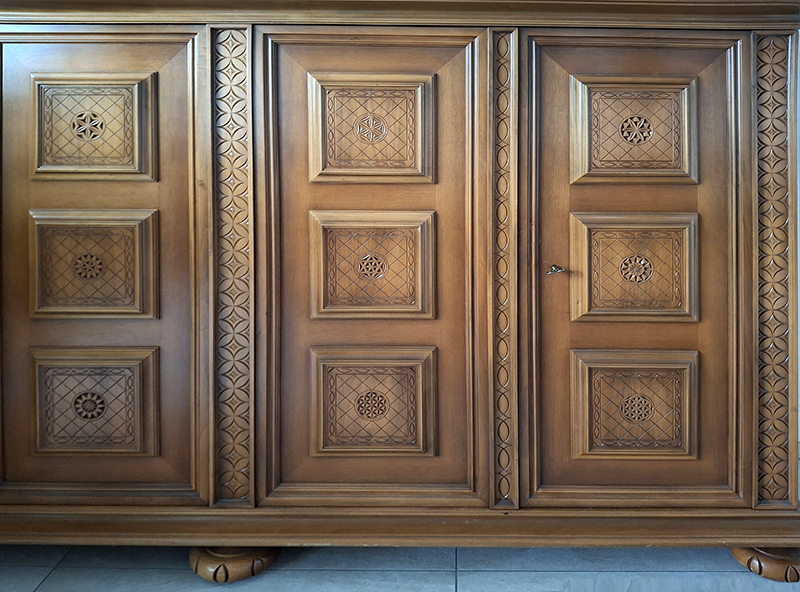
The possibilities what you can make are endless, basically you can use anything that can be made in wood. Smaller things like I mentioned above or wooden boxes and cheese knives are perfect for small gifts. Bigger things like chairs or even doors on a cupboard are perfect for decorating with chip carving. The designs themselves have no restrictions, geometrical designs are quite pleasing but anything goes.
Me and Chip Carving
My husband taught primary school after we got married. At some point he wanted to teach his class how to chip carve in art class. Needing an example he dug into his bag of teaching goodies. He pulled out a smallish chip carved wooden box he had made at the teachers college.
Looking at it I was immediately fascinated and thought maybe I could do something like that. He got me the tools and materials and showed me how it was done. First I learned that not just any wood works. They vary in hardness; linden is the friendliest wood for chip carving. Oak, beech, maple, and the really too hard exotics quickly turn the craft into a battle of wills. He explained how to hold the knife and I ran with it – not with the knife, with chip carving!
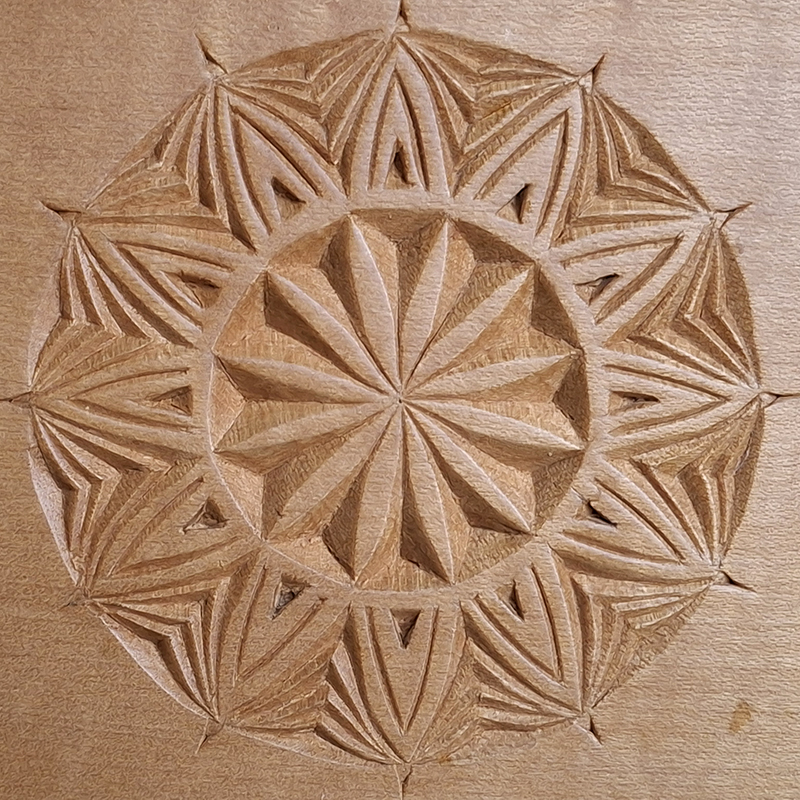
I did a couple of wooden practice squares and then I thought I might be brave enough to try a box like the one Ben had made. I gave it my best shot, and it turned out not bad – not bad at all. Feeling rather pleased with myself, I showed it to him. He took it in his hand but said nothing. Not a word. He turned it over then opened the empty box, because that’s what sensible people do with little boxes. Then closed it again, and slowly traced the design with his fingers. At last he looked up, and his face broke into a huge smile. ‘Well,’ he said, ‘it looks like I can throw my box away.’
Swiss Paper Cuts [Scherenschnitt]
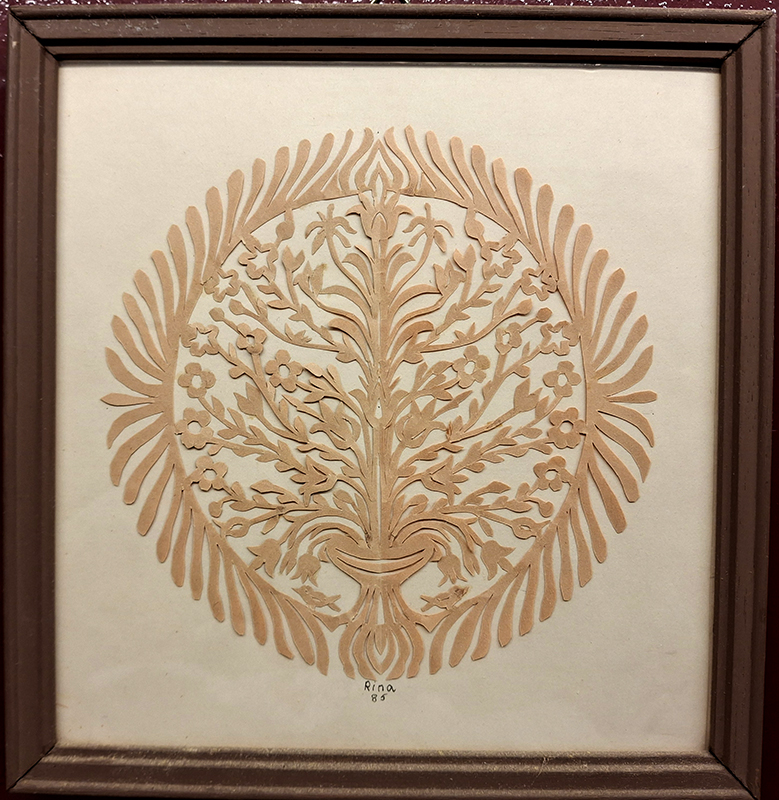
The last of my Swiss Folk Art Trifecta is indeed, a cut above the rest. This traditional Swiss paper cutting, or découpage features intricate, lace-like silhouettes cut from a single sheet of paper. Traditional paper cutting depicts alpine scenes, animals, and rural life as silhouettes on black paper. You can, however, go wild and crazy and use any color paper or type of motifs that you want.
Actually paper cutting has a long history. It originated in China over 2,000 years ago and reached Europe in the 15th – 16th centuries. Around 1800s, when both farmer painting and chip carving were in their prime, paper cutting became distinctly Swiss, too.
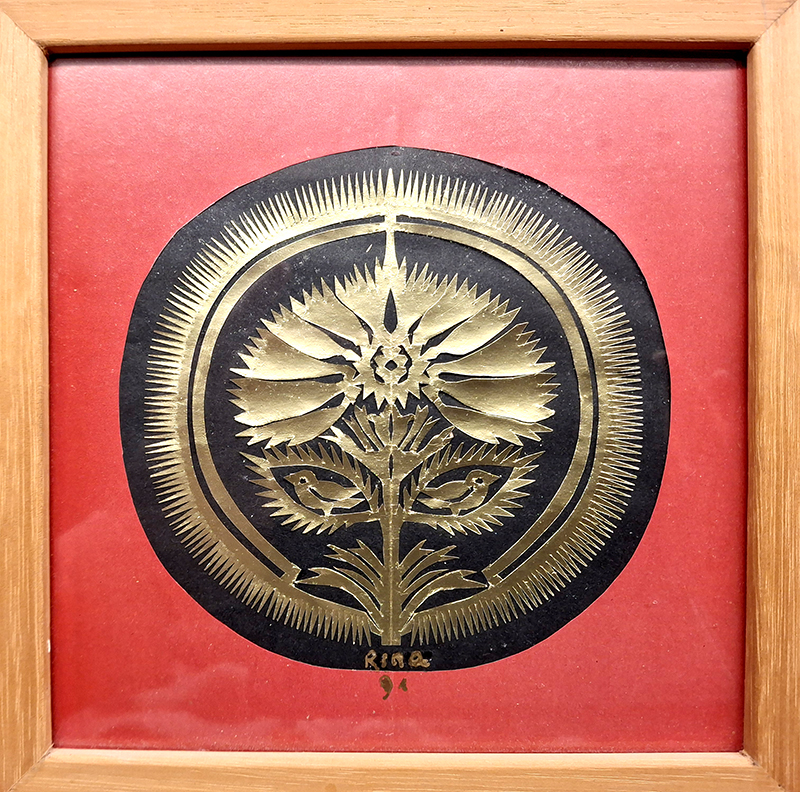
Interestingly enough, this art is rarely taught in art schools; instead, clubs like the Verein Scherenschnitt Schweiz keep it alive. Similarly you will also rarely spot it in mainstream galleries. I guess it just prefers museums with a taste for folk treasures and quiet drama. If you ask me, I think this folk art is spectacularly undersold.
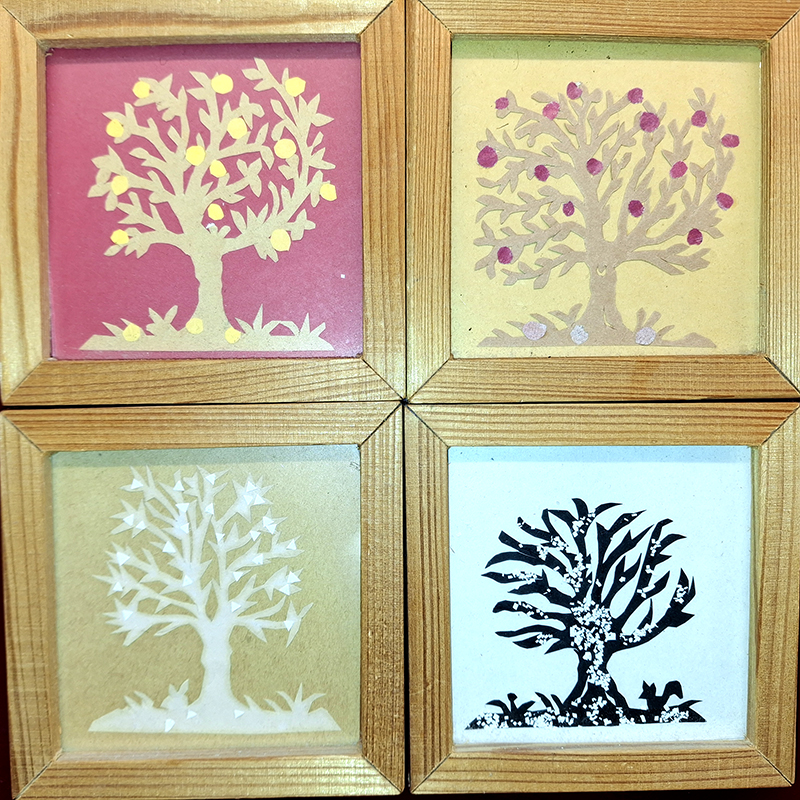
Paper cutting is the only folk art of the three that I haven’t personally tried. I’m not sure why though, it’s right down my alley, but I guess it just wasn’t meant to be. Still, the results are none the less magnificent. The pictures of paper cutting in my blog were all done by Bens very talented aunt!
How to Paper Cut
To get started, you need a sharp craft knife, a cutting mat, a pencil, an eraser, and your pattern. You also need two sheets of paper the same size. One to cut your design into, and the other will be used as a background. The background shows off the design and makes it look as impressive as it is.
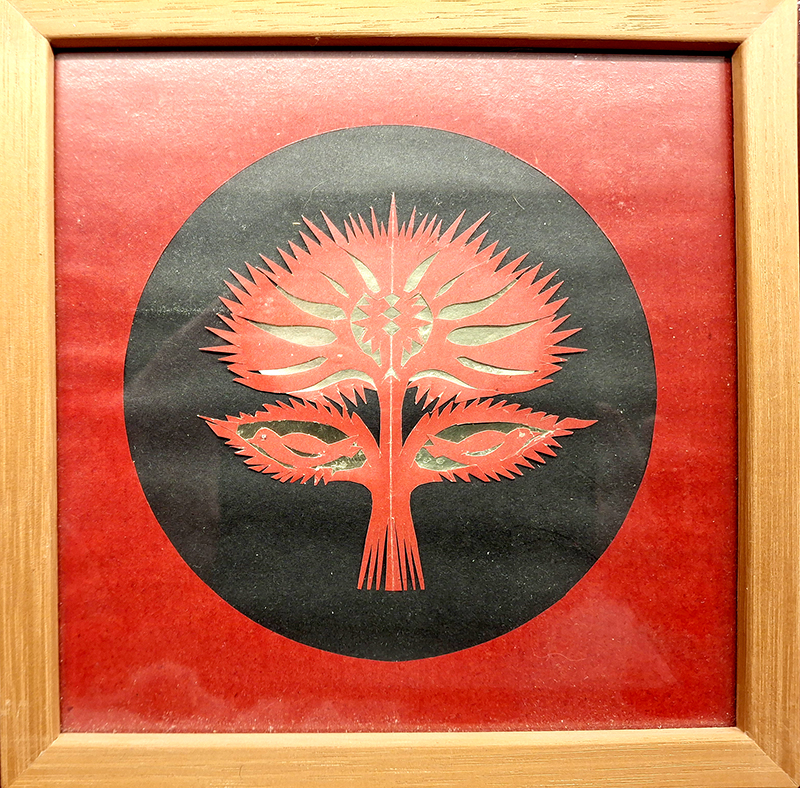
For transferring the design, place the design under the paper you want to cut. Then place them on a sunny window or a lightbox using the tape to keep everything in line for tracing. Trace the complete design lightly onto the paper with a sharp pencil. Then cut the design out with your sharp knife.
When everything is finished to perfection you’ll want to mount and hang the finished piece. Acid-free glue or adhesive tape is best to keep the finished work from falling out of place. Ordinary glue or poorly placed tape can leave unwelcome stains that appear years later.
I hope I have tickled your fancy and that you now want to try one, two, or all three of these traditional Swiss folk arts for yourself. The beauty about folk art is that it does not require an imposing studio or a long list of tools. A few essentials, some patience, and a bit of luck should be enough to produce something pretty impressive.
 -
- -
-